Learn how to make a beautiful hand bouquet with this step-by-step guide. Create stunning floral arrangements and impress your friends and loved ones with your newfound skills. Discover the art of hand bouquet making today!
Introduction: The Art of Making Hand Bouquets
Flowers have always been a symbol of beauty and elegance, and there’s nothing quite like a hand bouquet to brighten up any occasion. Whether you’re planning a wedding, surprising a loved one, or simply want to decorate your home with a touch of nature, knowing how to make a hand bouquet can be a valuable skill.
In this comprehensive guide, we will take you through the process of creating your own hand bouquet. From selecting the right flowers to arranging them in a visually appealing manner, you’ll learn all the techniques and tips you need to create stunning floral arrangements. So let’s dive in and unlock the secrets of hand bouquet making!
Basics of Hand Bouquet Making
Choosing the Right Flowers
When it comes to creating a hand bouquet, the choice of flowers is crucial. You’ll want to select blooms that are fresh, vibrant, and suited to the occasion. Roses, lilies, tulips, and orchids are popular choices but feel free to experiment with different flower varieties to add a unique touch to your bouquet.
Gathering the Necessary Tools and Materials
Before you embark on your hand bouquet-making journey, it’s essential to gather all the tools and materials you’ll need. Here’s a handy checklist to ensure you have everything:
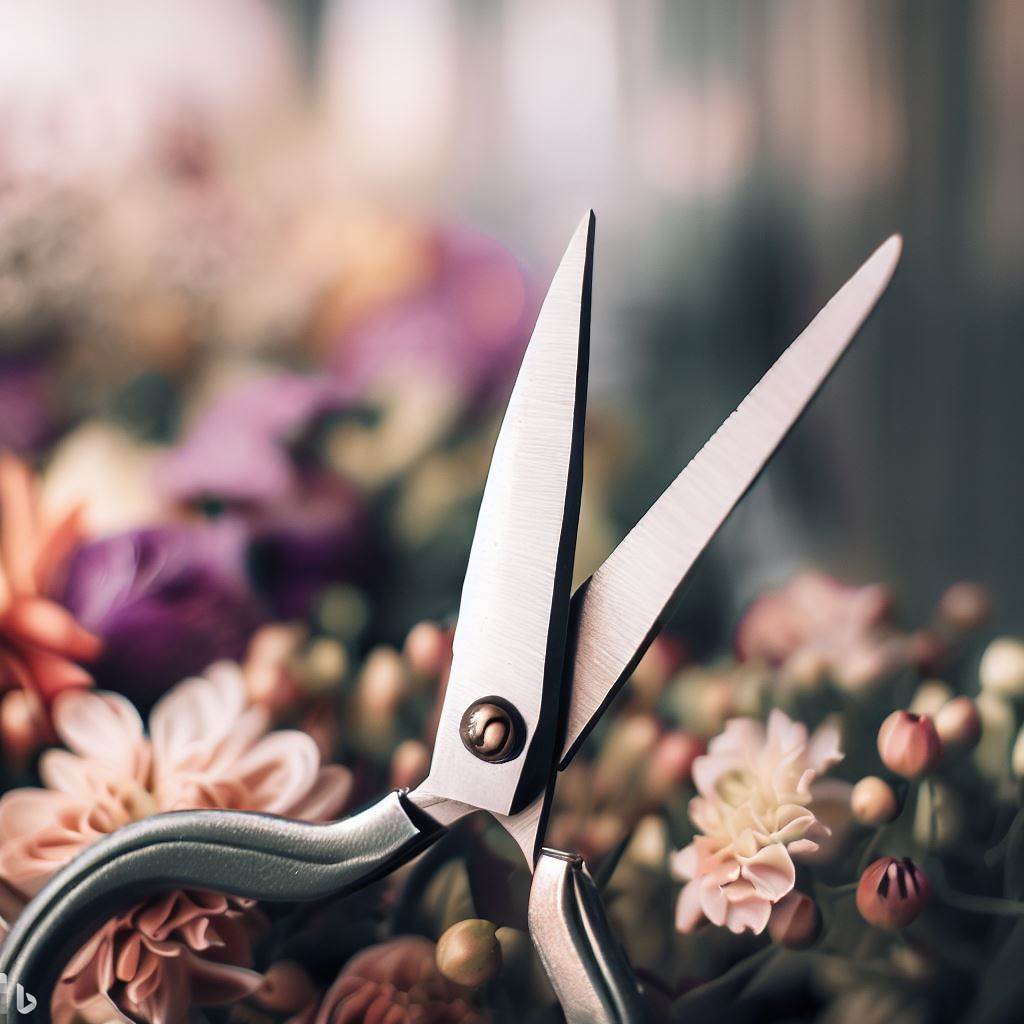
Floral shears or sharp scissors: These will come in handy for cutting and trimming flower stems.

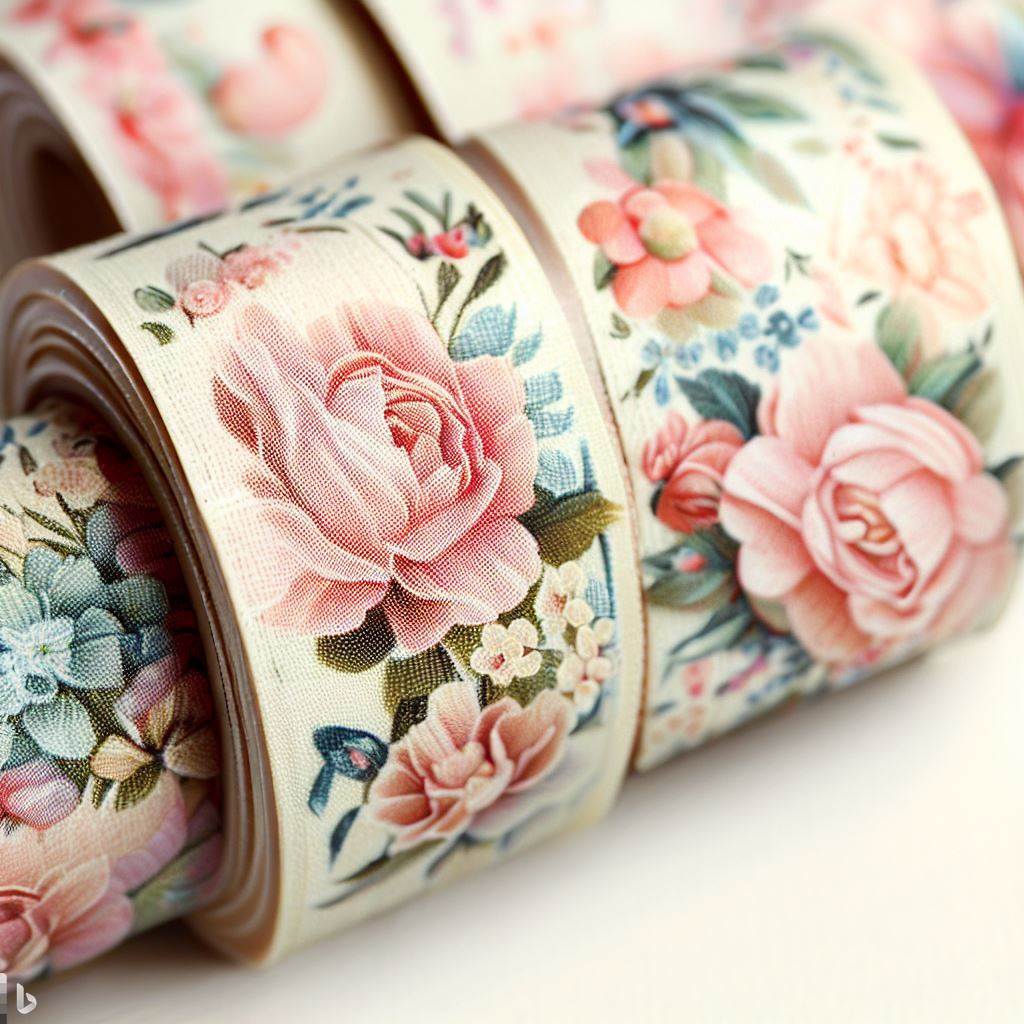
Floral tape: This special adhesive tape helps secure the stems and keeps your bouquet in place.

Ribbon or twine: Choose a ribbon or twine that complements the color scheme of your bouquet for a polished finish.

Water sprayer: Mist the flowers occasionally to keep them fresh during the arranging process.

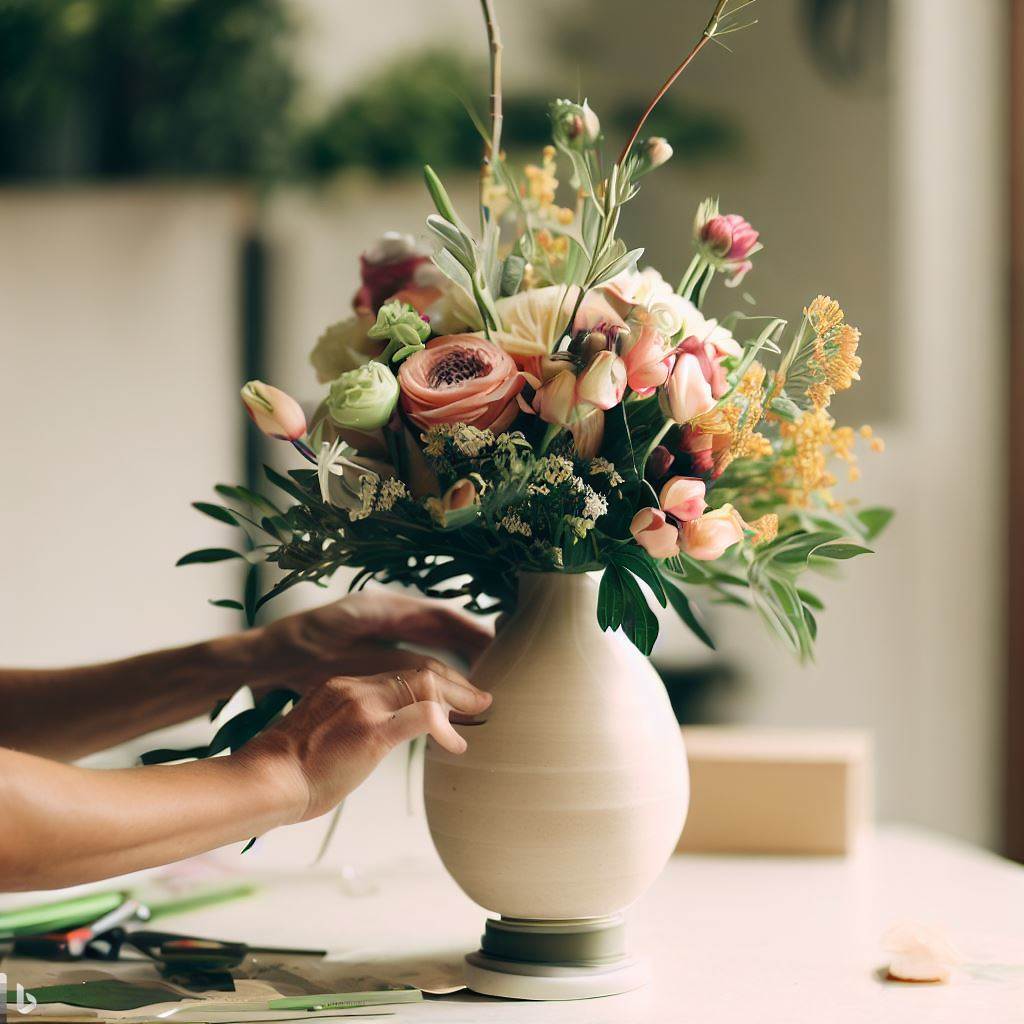
Floral foam or a water-filled vase: This will serve as the base to hold your bouquet while you work on it.

Optional embellishments: Consider adding decorative elements such as beads, feathers, or pearls to give your bouquet a unique flair.
Now that you have your flowers and tools ready, let’s dive into the step-by-step guide on how to make a hand bouquet.
Step-by-Step Guide: How to Make a Hand Bouquet
- Preparing the Flowers
Fill a clean basin or sink with water and gently place the flowers in it. Remove any leaves or thorns that will fall below the waterline.
Allow the flowers to hydrate for at least an hour before arranging them. This will help them stay fresh and vibrant.
- Creating the Base
Select a focal flower, such as a large rose or lily, and hold it in your hand.
Gradually add more flowers around the focal flower, turning the bouquet slightly with each addition to create a spiral effect.
Continue adding flowers until you achieve the desired size and fullness for the base of your bouquet.
- Adding the Focal Flowers
Choose a few blooms of the same type as your focal flower to create a cluster.
Position the cluster slightly higher than the base, angling it to the side for a visually appealing look.
Insert the stems diagonally into the base, securing them with floral tape as you go.
- Incorporating Filler Flowers
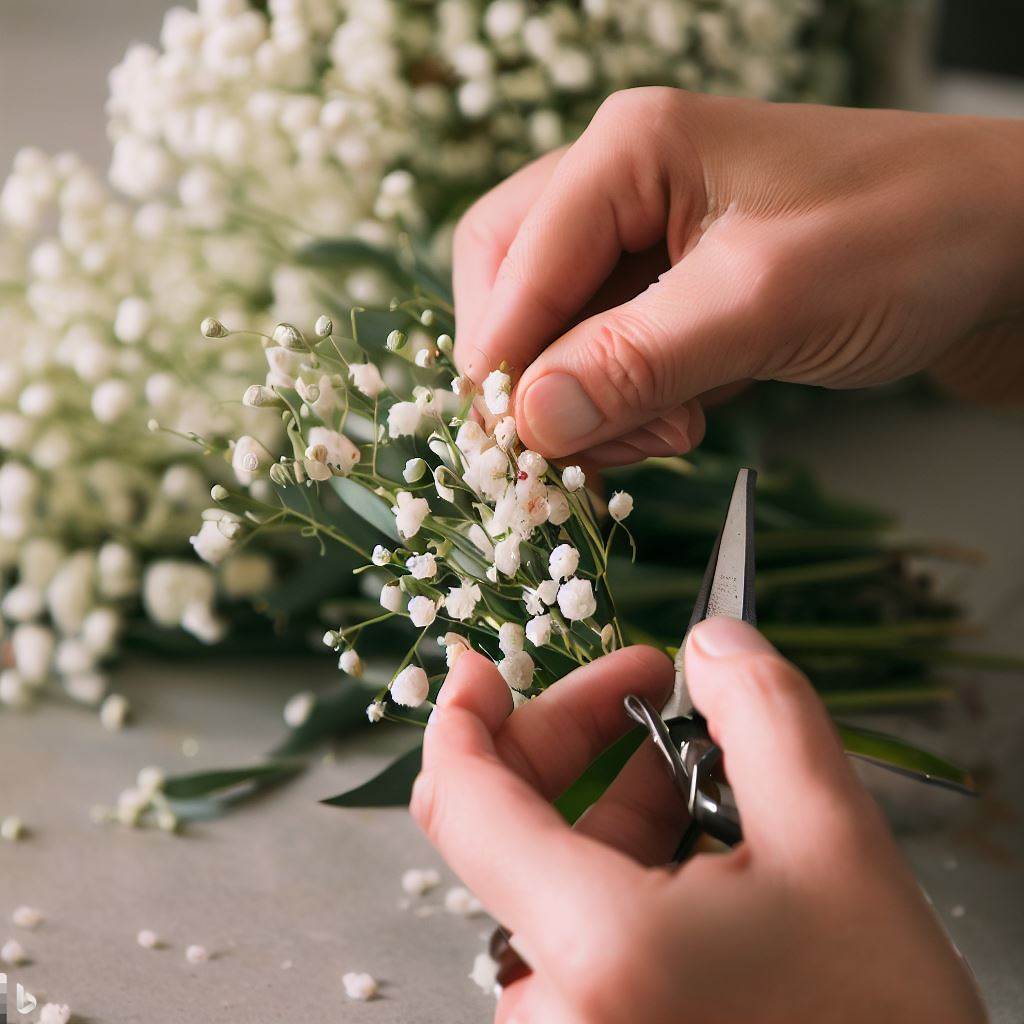
Select filler flowers, such as baby’s breath or wax flowers, to add texture and volume to your bouquet.
Insert the filler flowers in between the focal flowers, evenly distributing them for a balanced arrangement.
Trim the stems at varying lengths to create depth and dimension.
- Adding Greenery
Choose greenery, such as eucalyptus or ferns, to enhance the overall look of your bouquet.
Insert the greenery stems at different angles, filling any gaps between the flowers.
Allow the greenery to cascade slightly from the sides for an organic and natural feel.
- Securing the Bouquet
Once you’re satisfied with the arrangement, secure the stems tightly with floral tape, starting from the top and working your way down.
Trim the stems to an even length, ensuring they are long enough to hold comfortably.
Wrap a ribbon or twine around the stems, starting from the top and spiraling it downward. Tie it in a knot or a decorative bow.
Congratulations! You have successfully created a stunning hand bouquet. Now, let’s address some frequently asked questions about hand bouquet making.
Frequently Asked Questions (FAQs)
Certainly! While roses, lilies, and tulips are popular choices, you can use any flower that suits your taste and the occasion. Experiment with different varieties to create unique and personalized hand bouquets.
To keep your hand bouquet fresh, follow these tips:
1. Trim the stems at an angle before placing them in water.
2. Change the water every two days and add flower preservatives to prolong the life of the flowers.
3. Keep the bouquet away from direct sunlight, heat sources, and drafts.
4. Mist the flowers with water daily to keep them hydrated.
To make a hand bouquet, you’ll need floral shears or sharp scissors for cutting the stems, floral tape for securing the arrangement, ribbon or twine for decoration, a water sprayer to keep the flowers fresh, and optionally, floral foam or a water-filled vase to hold the bouquet while you work on it.
While floral tape is commonly used to secure the stems of a hand bouquet, you can also use twine, ribbon, or even rubber bands to hold the bouquet together. Just make sure the chosen method provides enough support to keep the flowers in place.
When selecting the color scheme for your hand bouquet, consider the occasion and the emotions you want to evoke. You can opt for monochromatic arrangements for a classic look or mix complementary colors for a vibrant and eye-catching bouquet. Take inspiration from nature or consult a color wheel for guidance.
Absolutely! You can personalize your hand bouquet by adding decorative elements such as beads, feathers, or pearls. Just make sure the additional decorations complement the flowers and overall theme of the arrangement.
Now that you have learned the essentials of hand bouquet making, you can create stunning floral arrangements for various occasions. Enjoy the creative process and let your imagination bloom!
Conclusion
Hand bouquet making is a delightful and creative skill that allows you to express your emotions and add a touch of nature’s beauty to any occasion. By following the step-by-step guide and using your creativity, you can create unique and personalized hand bouquets that will captivate hearts and make lasting impressions. So gather your flowers, sharpen your shears, and let the art of hand bouquet-making inspire you to create beauty with nature’s blooms.


