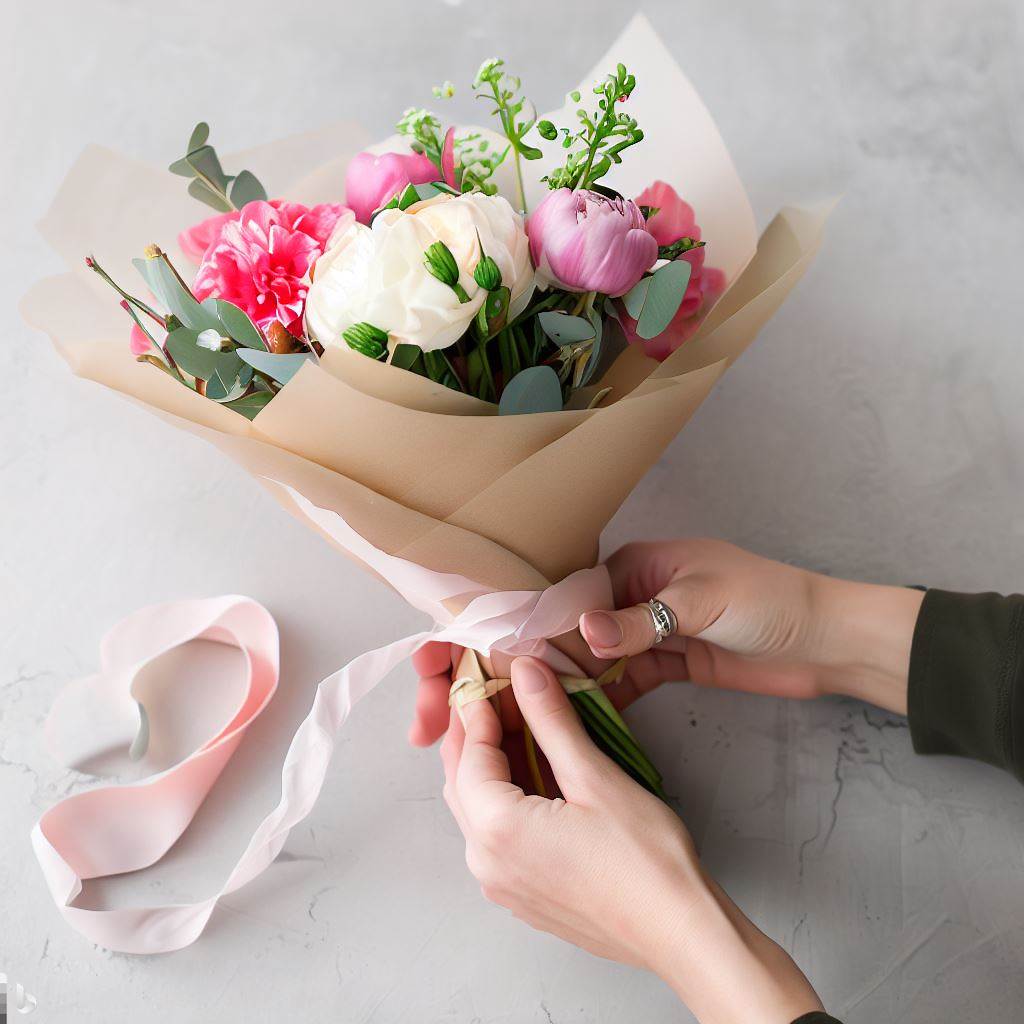
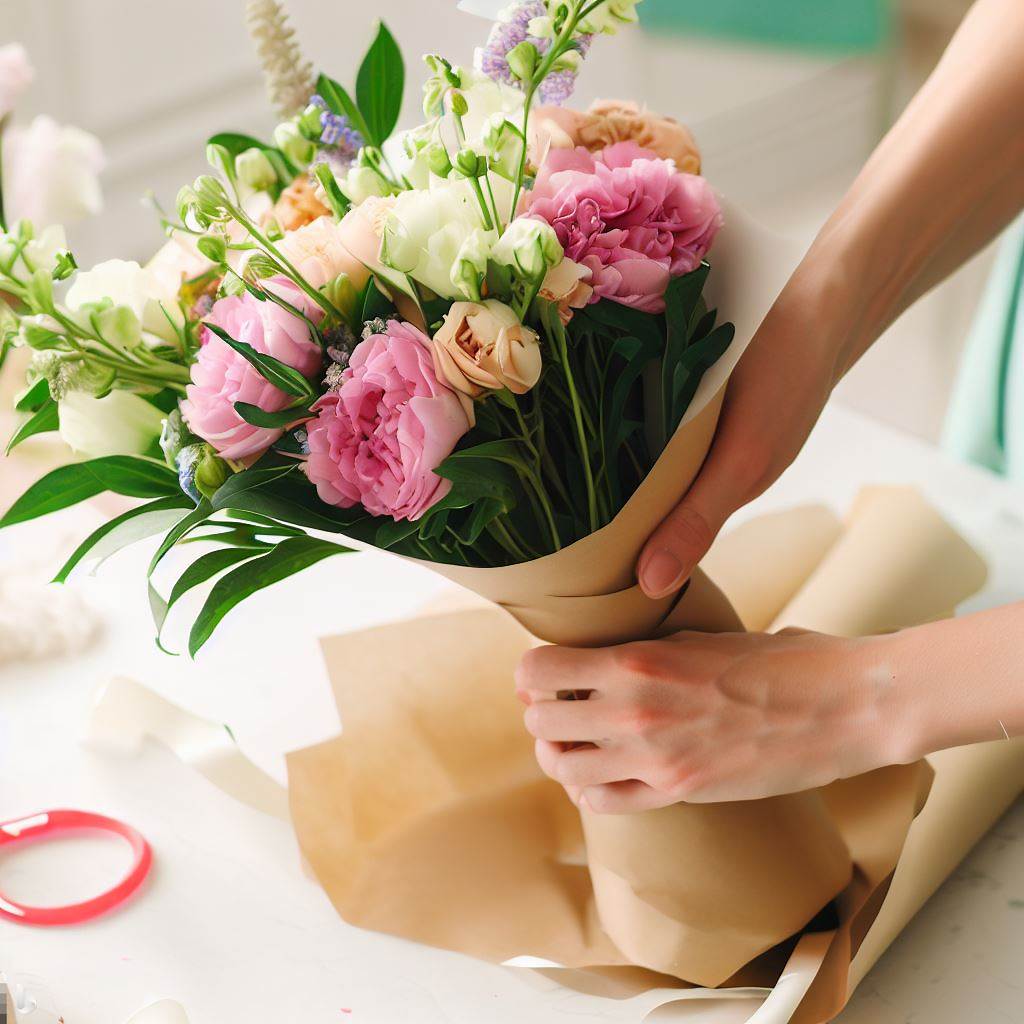
Using our step-by-step guide, you can learn how to wrap a hand tied bouquet in paper. Explore the art of floral presentation and create stunning arrangements with our expert tips and techniques. Perfect for gifting or adding an elegant touch to any occasion. Get started wrapping like a pro!
Introduction
We are pleased to provide you with this comprehensive guide on how to wrap a hand-tied bouquet in paper. We will walk you through every step of the process, providing detailed instructions and helpful tips along the way. This guide will assist you whether you are a professional florist or just a flower enthusiast in creating beautifully wrapped bouquets that will last a lifetime.
Understanding Hand Tied Bouquets
It is important to understand what hand-tied bouquets are before we dive into the wrapping process. A hand-tied bouquet is a popular floral arrangement style with a natural, organic look. Hand-tied bouquets are designed to be carried in your hands, as opposed to traditional bouquets that are placed in vases. They often feature a variety of flowers and foliage, carefully selected and arranged to create a harmonious composition of flowers and foliage.
Step 1: Materials Needed
Ensure you have all the materials you will need before wrapping your hand-tied bouquet. Here is a list of what you will need:

- Fresh flowers of your choice
- Florist tape
- Floral scissors
- Twine or ribbon
- Wrapping paper or craft paper
- Clear cellophane or tissue paper
- Optional: decorative accents such as a gift tag or floral embellishments
Make sure you have these materials at hand before you begin so that the process will run smoothly and efficiently.
Step 2: Choosing the Right Flowers
Selecting the appropriate flowers is the first step in creating a stunning hand-tied bouquet. When selecting flowers, take into account the occasion, the recipient’s preferences, and the colour scheme. Choose flowers in a variety of sizes, shapes, and textures to create a visually appealing arrangement. LSI Keyword: “flower selection for hand-tied bouquet”
Step 3: Preparing the Flowers
The following steps should be followed once you have received your flowers, in order to prepare them properly before creating the bouquet:
- Trim the stems: The stems should be cut at an angle using sharp floral scissors in order to promote better water absorption.
- Remove leaves: To keep the bouquet looking tidy, remove any leaves that are below the water line.
- Hydrate the flowers: Place the stems in a bucket of water and let them soak for several hours before arranging them.
Step 4: Creating the Bouquet
You are now ready to bring your bouquet to life. Please follow these instructions:
- Select a focal flower: The centrepiece of the bouquet should be one standout flower.
- Add secondary flowers: Alternate the heights and angles of the secondary flowers as you proceed around the focal flower.
- Incorporate foliage: Add depth and texture to the bouquet by incorporating foliage throughout.
- Create a spiral stem: While you are adding flowers, rotate the bouquet at an angle to create a spiral-shaped stem.
Step 5: Preparing the Wrapping Paper
The wrapping paper should be prepared before the bouquet is wrapped. Follow these steps:
- Cut the paper: Enclose the bouquet completely with a piece of wrapping paper that has been measured and cut to the appropriate size.
- Optional: Place a sheet of tissue paper on top of the wrapping paper to give it a more delicate appearance.
Step 6: Wrapping the Bouquet

We now need to wrap the bouquet on paper. Here is how to do it:
- Place the bouquet on the paper: Arrange the bouquet diagonally on the paper, ensuring that the stems are at the bottom.
- Wrap the paper: Tuck the paper tightly underneath the bouquet as you fold one side over the other.
- Secure with tape or twine: A neat bundle of paper can be created by securing it with florist tape or twine.
Step 7: Securing the Wrap
Follow these steps to ensure the wrap remains in place:
- Trim the stems: Make sure the stems are all the same length by trimming them with floral scissors.
- Secure with twine or ribbon: Tightly wrap a piece of twine or ribbon around the stems, just below the paper wrapping.
- Optional: Add a bow or decorative accent: The presentation can be enhanced by adding a decorative bow or accent.
Step 8: Adding a Finishing Touch
Consider adding the following finishing touches to your hand-tied bouquet:
- Trim the stems: To ensure that the stems are neat and even, give them a final trim.
- Optional: Mist the bouquet: To maintain the freshness of the flowers, lightly mist the bouquet with water.
- Personalize with a gift tag: You may wish to attach a small gift tag with a heartfelt message or the name of the recipient.
FAQ’s
Hand-tied bouquets can last from four to seven days when properly cared for. Make sure you change the water every two days and keep them away from direct sunlight and heat sources.
Using a mixture of different flower types will add visual interest and texture to your bouquet. However, make sure that the flowers have similar maintenance requirements.
To keep the bouquet hydrated during transportation, cover the stems of the bouquet with a damp paper towel, then cover them with a plastic bag.
Hand-tied bouquets are traditionally created with fresh flowers, but artificial flowers can certainly create the same look. Make sure that the stems are tightly secured and that the flowers are of high quality.
The bouquet can be enhanced with strong-smelling flowers such as roses, lilies, or lavender. Fresh herbs such as mint or rosemary can also be added to enhance the fragrance.
Conclusion
By following the steps outlined in this guide, you can create stunning bouquets that are sure to impress. Wrapping a hand-tied bouquet in paper is a beautiful way to present and showcase your floral arrangement. Be sure to select the right flowers, prepare the flowers properly, and wrap the bouquet with care. You can master the art of wrapping hand-tied bouquets with practice and delight your recipients.


